Making your own walking stick can be a fun and rewarding experience, allowing you to customize it to your needs and preferences. One of the main reasons to make your own walking stick is the satisfaction of creating something unique and personal. It also gives you the opportunity to choose the materials and design that best suit your needs and style.
To make a walking stick, you will need wood, tools, and accessories. The type of wood you choose will greatly impact the strength, durability, and appearance of your walking stick. It is essential to select a wood that is straight, hard, and lightweight for ease of use.
Before shaping the wood, it is crucial to properly prepare it. This includes removing the bark, sanding the surface, and optionally staining or painting it to your desired color.
Shaping the walking stick can be done using a variety of tools, including a knife, saw, or lathe. The method you choose will depend on your skills and the type of design you want to achieve.
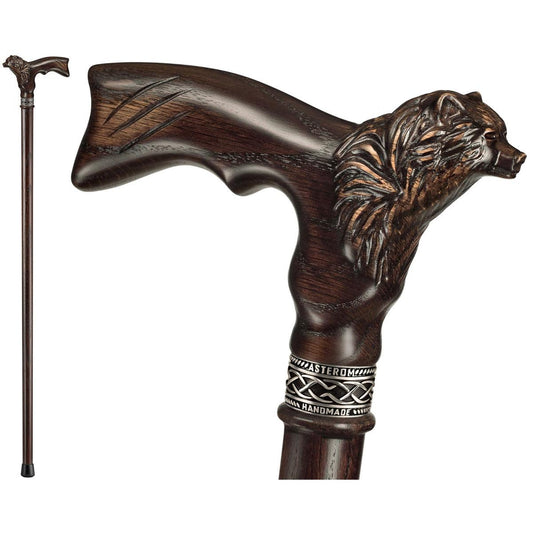
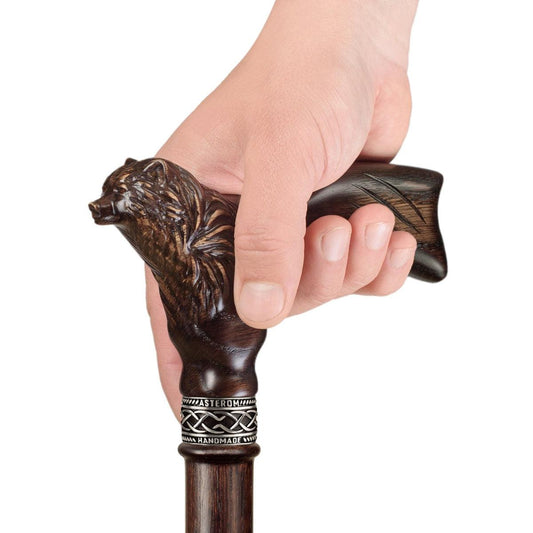
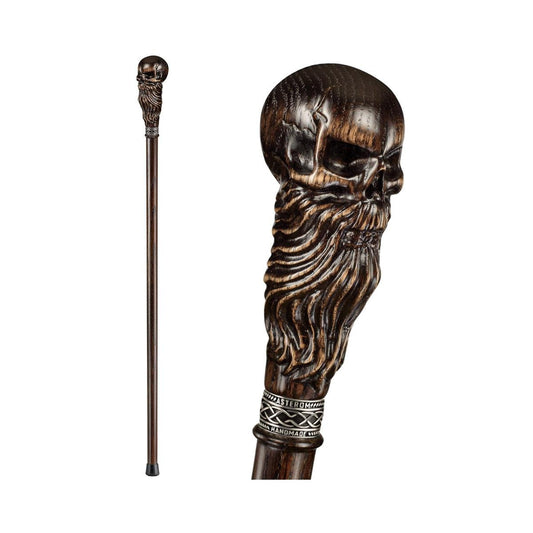
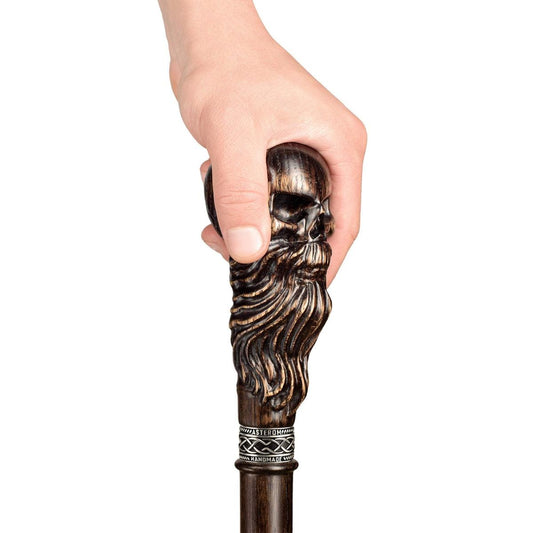
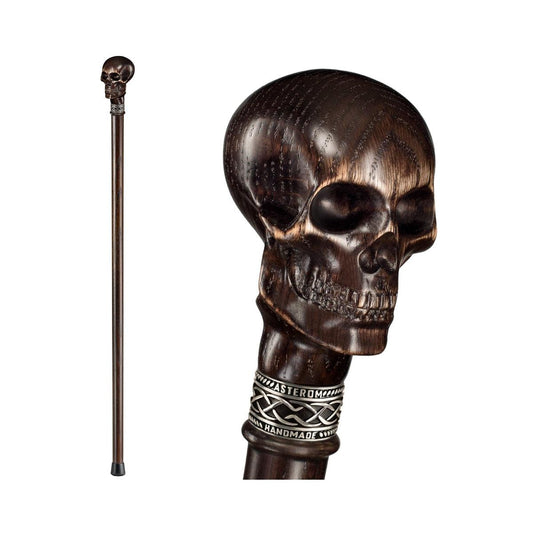
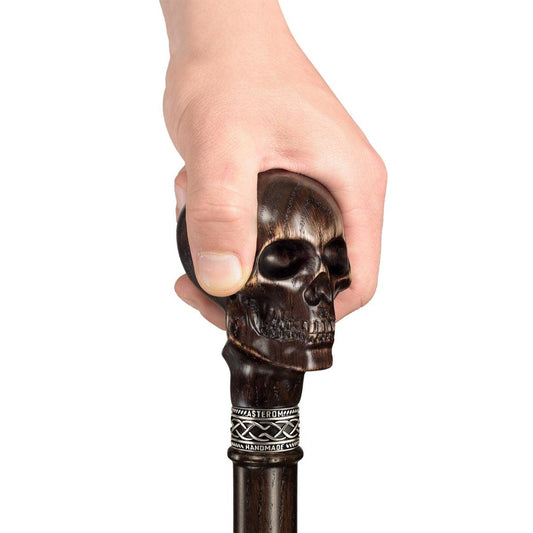
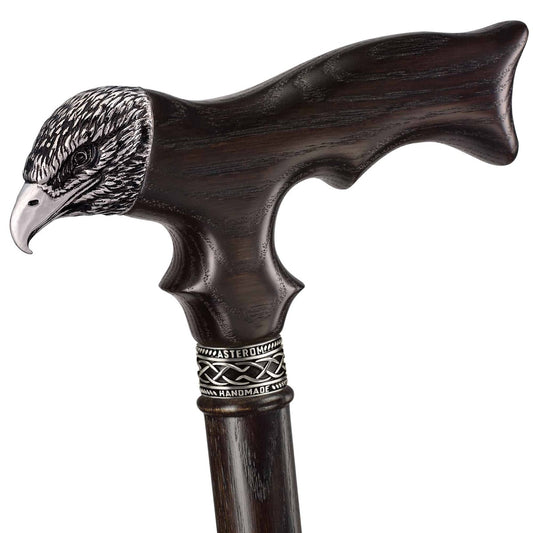
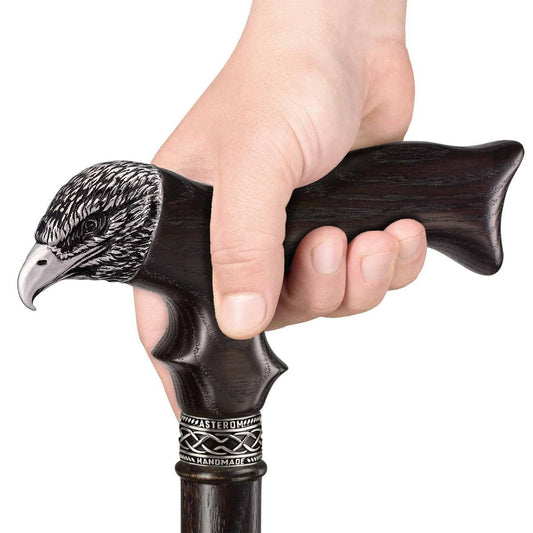
Adding accessories to your walking stick can enhance its functionality and appearance. This includes a handle for a better grip, a wrist strap for added security, and a rubber tip for better traction. These can be attached using screws or strong adhesive.
To finish your walking stick, you can apply a protective finish, such as varnish or sealer, to protect it from the elements and increase its lifespan. You can also polish the wood for a smooth and shiny finish.
By following these steps, you can create your own unique and functional walking stick that suits your needs and style. Not only is it a practical tool, but it is also a fun and fulfilling project that allows you to tap into your creativity.

Key Takeaways:
What Is A Walking Stick?
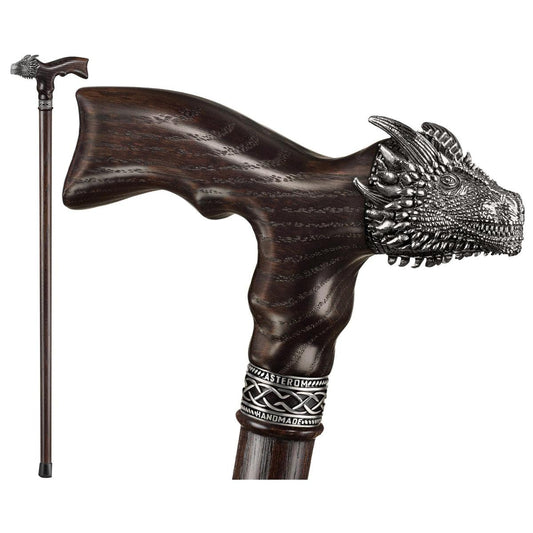
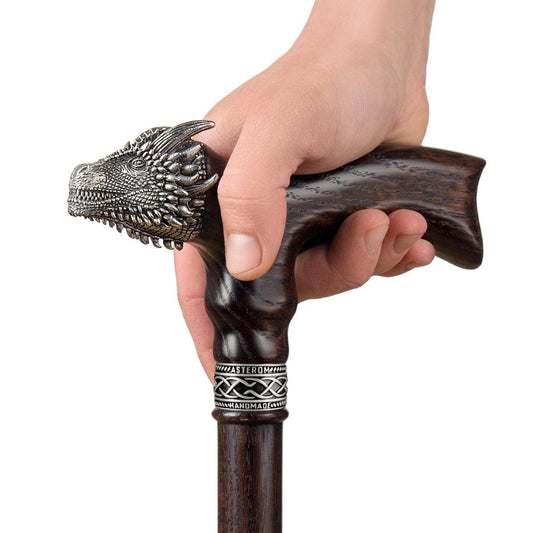
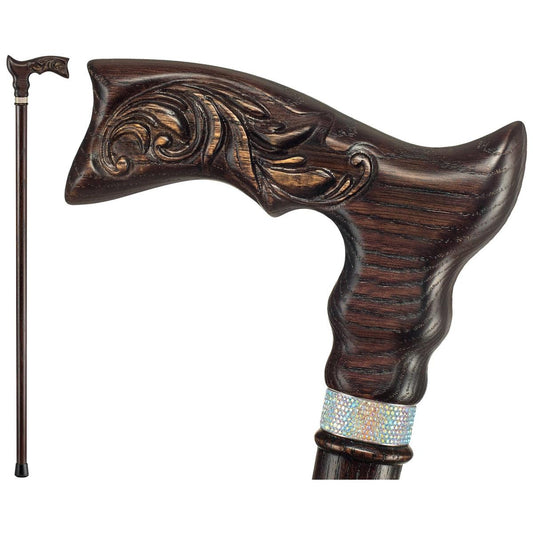
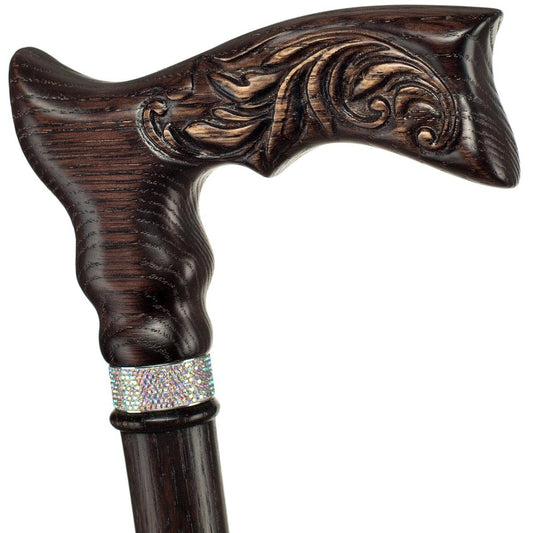
A walking stick is a long, sturdy stick used for support while walking. It is designed to provide stability and balance, making it particularly useful for individuals with mobility issues or those who enjoy hiking or trekking. Walking sticks can be crafted from a variety of materials, including wood, metal, or carbon fiber. They often feature a comfortable handle for gripping and a rubberized tip for improved traction.
Some walking sticks can even be personalized with unique designs and accessories to cater to individual preferences and needs. In addition to its practical uses, a walking stick can also serve as a tool for self-defense or as a fashionable accessory.
Why Make Your Own Walking Stick?
Making your own walking stick offers several benefits compared to purchasing one.
- Customization: Crafting your own walking stick allows for personalization according to your preferences, style, and comfort.
- Cost-effectiveness: Creating your own walking stick can be more economical, as materials can be easily accessible or repurposed from items you already have.
- Satisfaction: The act of crafting something by hand can be fulfilling and provide a sense of accomplishment.
- Connection to nature: By making your own walking stick, you can spend time outdoors, gathering materials and appreciating the natural world.
- Adaptability: Designing your own walking stick allows for customization to your specific needs, such as incorporating features like a built-in camera mount or a detachable seat.
What Materials Do You Need?
When it comes to making a walking stick, there are a few key materials that you will need to have on hand. In this section, we will discuss the essential components needed for crafting a sturdy and reliable walking stick. From the type of wood to the necessary tools and accessories, we will cover everything you need to know to get started on your walking stick making journey. So, let's dive in and discover what materials are required for this satisfying and practical DIY project.1. Wood
Wood is the primary material used in making walking sticks. Here are the necessary steps for working with wood to create a walking stick:
- Choose the right wood: Look for a straight, hard, and lightweight wood. Popular choices include ash, hickory, or oak.
- Prepare the wood: Start by removing the bark using a knife or a scraper. Then, sand the wood to smoothen the surface.
- Shape the walking stick: Use a knife, saw, or lathe to shape the wood according to your preferences. Carve patterns or designs if desired.
- Add accessories: Consider adding a handle, wrist strap, or rubber tip to enhance comfort and functionality.
- Finish the walking stick: Apply a protective finish like varnish or lacquer to preserve the wood's appearance. Polish the surface for a smooth and glossy finish.
2. Tools
When creating your own walking stick, it is important to have the necessary tools on hand. Here is a list of the tools you will need:
- Measuring tape or ruler
- Saw (hand saw or power saw)
- Knife or carving tools
- Sandpaper or sanding block
- Stain or paint (optional)
- Protective finish (e.g., varnish or lacquer)
- Polishing materials (e.g., cloth or steel wool)
Having these tools readily available will ensure a smoother and more efficient process when making your walking stick.
Fact: Did you know that walking sticks have been utilized for centuries by hikers, explorers, and those in need of assistance? They provide stability and support, enhancing the experience of outdoor adventures.
3. Accessories
When creating your own walking stick, incorporating accessories can greatly improve its functionality and personalization. Follow these steps to effectively add accessories to your walking stick:
- Adding a Handle: Enhance grip and stability by attaching a comfortable handle, such as a rubber or wooden grip.
- Adding a Wrist Strap: Prevent accidental dropping or losing of your walking stick by securing a wrist strap.
- Adding a Rubber Tip: Improve traction and protect surfaces by attaching a rubber tip to the bottom of your walking stick.
Pro-tip: For a fully customized walking stick, consider adding multiple accessories according to your specific needs and preferences.

How To Choose The Right Wood For Your Walking Stick?
When it comes to crafting your own walking stick, the type of wood you choose can greatly impact its overall quality and functionality. In this section, we will discuss the key factors to consider when selecting the right wood for your walking stick. We’ll delve into the importance of straightness, hardness, and weight, and how each of these characteristics can affect the durability and ease of use of your walking stick. So, let’s dive in and discover how to choose the perfect wood for your walking stick.1. Straightness
To ensure a sturdy and reliable walking stick, straightness is crucial. Here are the steps to consider for achieving a straight walking stick:
- Select a long and straight piece of wood, such as hickory, oak, or ash.
- Inspect the wood for any bends or curves, ensuring it is as straight as possible.
- Use a straight edge or level to check the wood's straightness along its entire length.
- Make any necessary adjustments by removing small knots or bumps with a saw or knife.
- Smooth out the surface using sandpaper, ensuring the entire stick is straight and free from any imperfections.
- Repeat the process until you have achieved the desired level of straightness for your walking stick.
By following these steps, you can create a walking stick that provides stability and comfort during your outdoor adventures.
2. Hardness
When creating your own walking stick, the hardness of the wood you select is a crucial factor to consider. Follow these steps to help you choose the appropriate wood:
- Research various types of wood to determine their hardness rating.
- Consider the level of durability you require for your walking stick, whether it's for light hiking or strong support.
- Weigh the advantages and disadvantages of different wood hardness levels, keeping in mind that harder woods may be more challenging to shape.
In the end, the hardness of the wood will impact the overall strength and durability of your walking stick. Choose a wood that meets your needs and level of expertise for a successful DIY project.
3. Weight
When creating your own walking stick, it is important to consider the weight in order to ensure comfort and ease of use. Here are the steps to managing the weight of your walking stick:
- Select a lightweight wood, such as cedar or bamboo.
- Eliminate any excess wood to decrease weight using a saw or knife.
- Avoid adding heavy accessories, such as metal handles or excessive decorations.
By following these steps, you can craft a walking stick that is light in weight and easy to carry, enhancing your outdoor adventures.

How To Prepare The Wood?
Before you can begin crafting your own walking stick, you must properly prepare the wood. This crucial step ensures that your walking stick is not only functional but also visually appealing. In this section, we will discuss the necessary steps to prepare the wood, including removing the bark, sanding the surface, and adding a stain or paint for a finishing touch. Each of these sub-sections will play a vital role in creating a sturdy and attractive walking stick.1. Removing Bark
To remove the bark from a walking stick, follow these steps:
- Inspect the stick: Make sure that the stick is dry and free from any bugs or insects.
- Prepare the tools: Gather a sharp knife, a small hatchet, and a wire brush.
- Make a starting cut: Use the knife to make a small cut at either the top or bottom of the stick to begin removing the bark.
- Peel off the bark: Carefully slide the knife under the bark and gently peel it away from the wood. If needed, use the hatchet or knife to remove any stubborn sections.
- Clean the surface: After removing the bark, use the wire brush to scrub away any remaining debris or loose bark.
- Smooth the surface: Sand the wood to ensure a smooth finish, removing any rough edges or splinters.
- Apply a finish: While optional, you can apply a protective finish such as varnish or oil to enhance the appearance and protect the wood.
2. Sanding
Sanding is an essential step in creating your own walking stick. Follow these simple steps to achieve a polished finish:
- Begin with coarse-grit sandpaper to remove any rough spots and create a smooth surface.
- Gradually switch to finer-grit sandpaper for a more polished look.
- Sand in the direction of the wood grain to prevent scratches.
- Use a sanding block or wrap sandpaper around a piece of wood for an even sanding process.
- After sanding, wipe the walking stick with a damp cloth to remove any dust.
Pro-tip: To enhance the wood's natural beauty and protect it from drying out, apply a layer of wood conditioner before sanding.
3. Staining or Painting
Staining or painting your walking stick is a great way to add a personal touch and protect the wood. Follow these steps to successfully stain or paint your walking stick:
- Prepare the wood surface by lightly sanding it to remove any rough areas or imperfections.
- Thoroughly clean the walking stick to remove any dust or debris.
- If staining the wood, use a brush or rag to apply a wood stain. Be sure to follow the manufacturer's instructions for recommended application time and number of coats.
- If painting the walking stick, choose a color that suits your preferences and apply it evenly using a brush or spray paint.
- Allow the stain or paint to dry completely before applying additional coats or finishes.
- If desired, apply a clear protective finish, such as varnish or polyurethane, to seal and protect the stained or painted surface.
- Allow the finish to dry completely before using your walking stick.
How To Shape The Walking Stick?
In this section, we will discuss the various methods for shaping a walking stick. Whether you prefer a traditional and hands-on approach or a more modern and efficient method, there is a technique for everyone. We will cover the three popular methods of shaping a walking stick: using a knife, a saw, and a lathe. Each method offers its own unique advantages and challenges, so read on to discover the best technique for you to create your perfect walking stick.1. Using a Knife
Using a knife is one of the methods to shape your walking stick. Here are the steps to follow:
- Select a sturdy piece of wood that meets your preferences.
- Mark the desired length of your walking stick using a measuring tape and a pencil.
- Safely secure the wood in place using clamps or a vise.
- Begin shaping the stick by removing excess wood with the knife. Start at one end and work your way down to the other.
- Carve the handle, if desired, by carefully removing wood from the top of the stick.
- Smooth out any rough edges or imperfections using the knife.
- Continue refining the shape of the walking stick until you are satisfied with the result.
- Finish off by sanding the stick to achieve a smooth surface.
- Apply a protective finish, such as varnish or oil, to preserve the wood and enhance its appearance.
2. Using a Saw
Using a saw is an effective method for shaping your walking stick. Here are the steps to follow:
- Measure and mark the desired length of your walking stick.
- Safely secure the wood in a vise or clamp to prevent it from moving while cutting.
- Choose the appropriate saw for the job, such as a hand saw or a band saw.
- Carefully make the initial cut at the marked length, ensuring a straight line.
- Continue cutting along the marked line, making smooth and controlled strokes.
- Periodically check the progress to ensure the desired shape and length are achieved.
- Once the cutting is complete, use sandpaper to smooth out any rough edges or surfaces.
- Apply a protective finish or polish to enhance the look and durability of your walking stick.
I once used a saw to shape my walking stick, and the process was surprisingly satisfying. With each precise cut, I could see the transformation of a simple piece of wood into a functional and beautiful walking companion. The saw allowed me to customize the shape and size to fit my grip perfectly. It was a rewarding experience that resulted in a unique, handcrafted walking stick that I still use and cherish today.
3. Using a Lathe
Using a lathe to shape your walking stick offers precision and versatility. Here are the steps to follow when using a lathe:
- Secure the wood: Attach the wood to the lathe with a chuck or a faceplate.
- Start the lathe: Turn on the lathe and adjust the speed according to the wood's hardness and desired results.
- Shape the stick: Use chisels, gouges, or scrapers to shape the wood while it spins on the lathe. Take your time and work slowly to achieve the desired shape.
- Smooth the surface: As you shape the stick, use sandpaper to smooth the surface and remove any rough spots.
- Finish the stick: Apply a protective finish, such as varnish or lacquer, to enhance the stick's appearance and durability.
- Remove the stick: Once you are satisfied with the shape and finish, turn off the lathe and remove the walking stick from the machine.

How To Add Accessories To Your Walking Stick?
In this section, we will discuss how to customize and enhance your walking stick with various accessories. From adding a comfortable handle for better grip, to attaching a wrist strap for convenience, and even adding a rubber tip for stability, these accessories can greatly improve your walking stick experience. Let's dive into the step-by-step process of adding these accessories and make your walking stick truly unique and functional.1. Adding a Handle
Enhancing both functionality and aesthetics, adding a handle to your walking stick is an important step. Here are the steps to follow:
- Select a suitable handle material, such as wood, cork, or rubber.
- Measure and mark the desired location for the handle on your walking stick.
- Using a saw or carving tools, carefully remove the necessary amount of wood to create a comfortable grip.
- If using a wooden handle, sand it smooth and round the edges for a comfortable feel.
- Securely attach the handle to the walking stick using adhesive or screws.
- For a personalized touch, add decorative elements or personal touches to customize your handle.
Throughout history, the addition of handles to walking sticks has been a common practice. In ancient times, handles were crafted from materials such as bone or ivory and adorned with intricate carvings or precious gemstones. Today, walkers and hikers continue to add handles to their walking sticks for added comfort and style.
2. Adding a Wrist Strap
Adding a wrist strap to your walking stick can provide extra security and convenience while hiking or walking. Here are the steps to add a wrist strap:
- Measure and cut a length of sturdy nylon or paracord.
- Thread one end of the cord through the hole at the top of the walking stick.
- Create a loop by folding the cord back on itself.
- Pass the loose ends of the cord through the loop and pull tight.
- Adjust the length of the wrist strap to ensure a comfortable fit.
- Knot the loose ends of the cord securely to prevent unraveling.
Adding a wrist strap to your walking stick can provide peace of mind and make it easier to carry during your outdoor adventures.
3. Adding a Rubber Tip
Adding a rubber tip to your walking stick can greatly improve traction and prevent slipping on a variety of surfaces. Follow these steps to learn how to add a rubber tip to your walking stick:
- Choose a rubber tip that fits securely over the end of your walking stick.
- Make sure the bottom of the walking stick is clean and free of any debris.
- Apply a small amount of adhesive or glue to the inside of the rubber tip.
- Gently slide the rubber tip onto the end of the walking stick.
- Press down firmly to ensure the rubber tip is securely in place.
Pro-tip: To maintain optimal traction and safety while using your walking stick, remember to periodically replace the rubber tip.
How To Finish Your Walking Stick?
Once you have crafted your own walking stick, the final step is to apply a protective finish and polish it to perfection. In this section, we will discuss the two key steps in finishing your walking stick: applying a protective finish and polishing. These steps are essential in preserving the quality and appearance of your walking stick, and we’ll provide tips and techniques to help you achieve the desired result. So let’s get ready to give your walking stick the perfect finishing touch!1. Applying a Protective Finish
Applying a protective finish to your walking stick is crucial for preserving its lifespan and enhancing its appearance. Follow these steps to properly apply a protective finish:
- Thoroughly clean the surface of the walking stick to remove any dirt or debris.
- Choose a suitable protective finish, such as polyurethane or varnish.
- Using a brush or cloth, apply the protective finish according to the manufacturer's instructions.
- Ensure an even application by brushing in long, smooth strokes.
- Allow the finish to dry completely before adding additional coats.
- If desired, lightly sand the surface between coats for a smoother finish.
- Apply several thin coats instead of one thick coat for better protection.
- Allow the final coat to fully cure before using the walking stick.
2. Polishing
Polishing is the final step in finishing your walking stick, giving it a smooth and shiny surface. Here are the steps to polish your walking stick:
- Begin by sanding the stick with fine-grit sandpaper to remove any roughness.
- Apply a coat of wood polish or wax using a soft cloth, following the instructions provided with the product.
- Using another clean cloth, buff the surface of the stick in circular motions to enhance its natural shine.
Pro-tip: For an extra glossy finish, repeat the polishing process with a second coat of wood polish or wax.